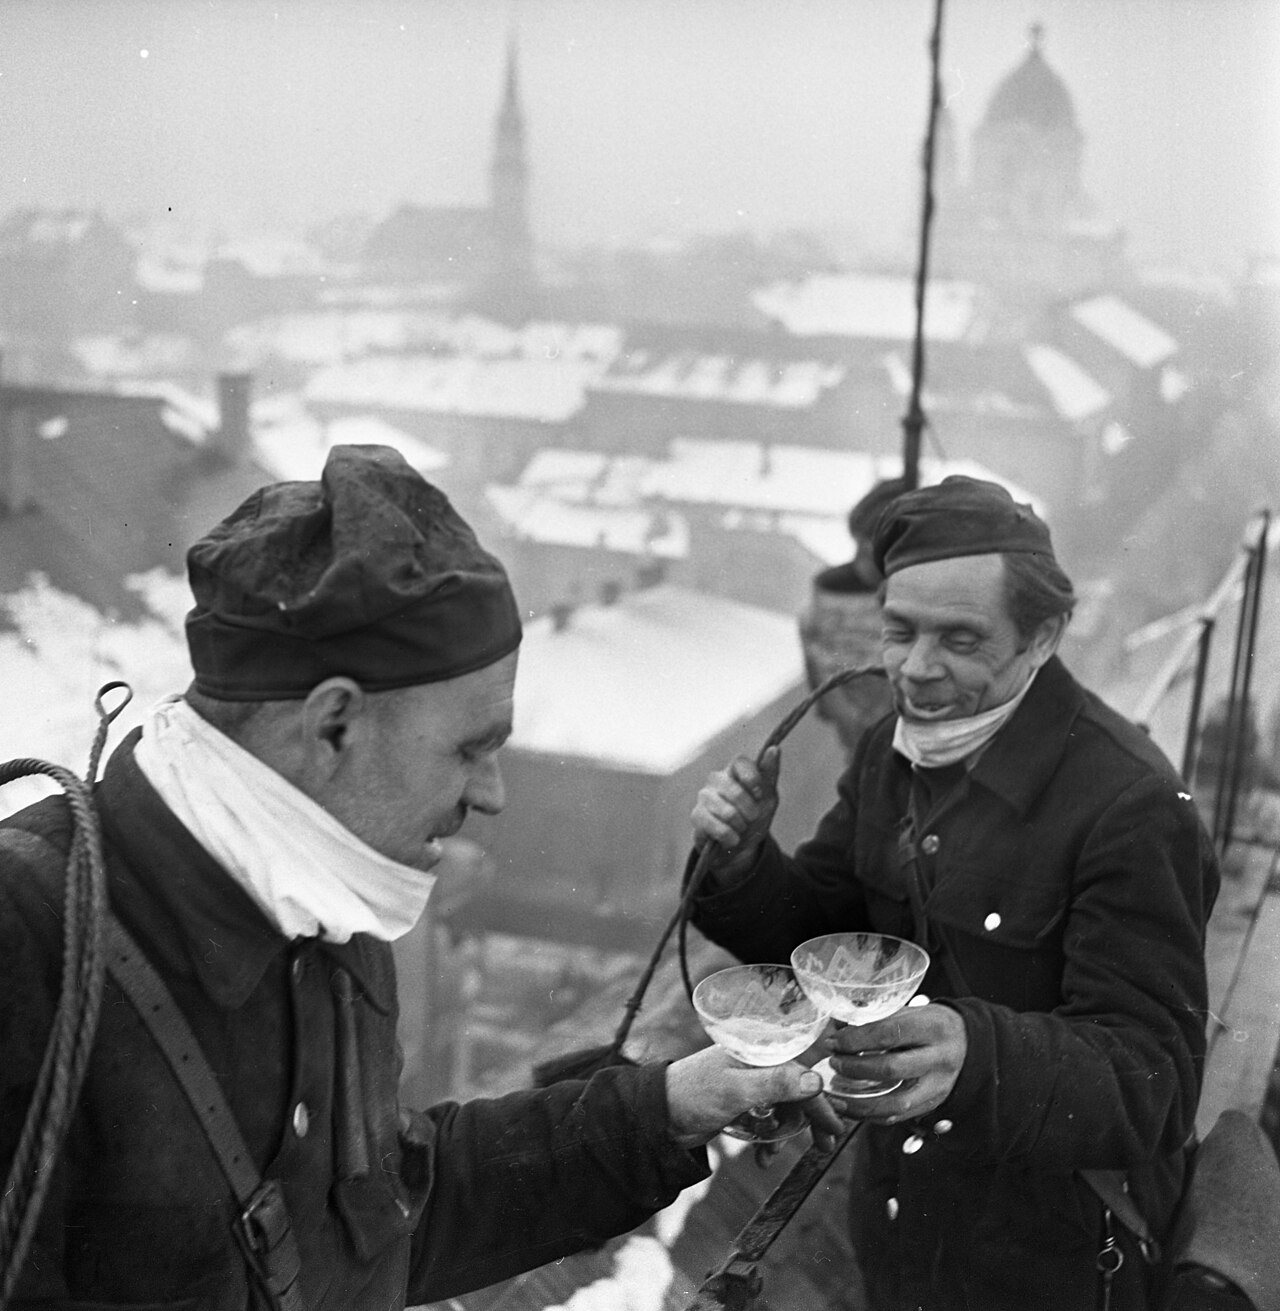
Photo: Fortepan, ID 87285, donor Urbán Tamás, CC BY-SA 3.0, via Wikimedia Commons
There is always one evening in late October when the temperature drops, someone says "let's light the fire," and a fireplace that has sat cold since March gets loaded with logs. Most of the time that goes fine. When it doesn't, the trouble usually started months earlier, up the flue, where nobody was looking.
A chimney is about as low-tech as household equipment gets, which is exactly why it gets ignored. But a season of fires leaves deposits behind, summer brings birds and leaves, and mortar keeps ageing whether you use the thing or not.
Here is what I'd check before the first fire of the year, what you can sensibly do yourself, and the point where a professional sweep earns their fee.
Start with a look from the ground and the hearth
You don't need a ladder for the first round. Stand back in the yard or across the street and look at the chimney stack. You're checking for missing or crumbling mortar, cracked bricks, a leaning stack and any obvious damage to the cap or crown on top. Binoculars help, and I'd use them before anyone climbs anything.
Then go inside with a good flashlight. Open the damper and look up. You want to see daylight, or at least a clear passage, and no nests, leaves or chunks of fallen masonry. Check that the damper opens and closes smoothly and seals when shut. A damper that's stuck half open loses heat all winter, and one that's stuck closed is a much bigger problem the moment you light a fire.
Look at the firebox itself too. Cracked firebricks or gaps in the joints let heat reach parts of the house that were never meant to get hot.
Understand what creosote is and why it matters
Burning wood produces smoke, and as that smoke cools on its way up the flue it leaves deposits on the walls. The sticky, tar-like part is called creosote, and it burns. A chimney fire happens when that lining of creosote catches, and it can crack a flue or spread to the structure around it.
Early buildup looks like soft, dry soot. Later it turns flaky and crusty, and the worst kind is a shiny glaze that is very difficult to remove. If you scratch the inside of the flue near the damper with a poker and find a layer thicker than a coin, or anything glossy, that's your sign to book a sweep before the first fire, not after.
Wet wood, smouldering fires with the air turned down and cold flues all make creosote build up faster. So the habits in the next sections matter as much as the cleaning.
When to call a chimney sweep
The US National Fire Protection Association's standard says chimneys, fireplaces and vents should be inspected at least once a year, and cleaned when an inspection shows they need it. In the UK, the usual guidance is to have a chimney swept at least once a year, and more often if you burn a lot of wood.
In the US, look for a sweep certified by the Chimney Safety Institute of America. In the UK, members of the established sweeps' associations, such as HETAS-registered or NACS sweeps, are the usual choice. Either way, a good sweep will do more than brush the flue. They'll check the liner, the smoke chamber and the cap, and tell you about anything that needs repair.
My advice: unless you have a straight, simple flue and you've done it before, leave the actual sweeping to them. Rods and brushes are cheap, but you can't see what you're doing up there, and you can easily miss the damage that matters.
One note for American readers: if chimney swifts have nested in your flue over the summer, they are protected under the Migratory Bird Treaty Act, and an active nest can't be removed. A sweep can advise you on timing and on fitting a cap afterwards.
Burn dry wood, and only wood
The single biggest improvement most people can make is burning properly seasoned firewood. Wood that's been split and dried, usually for a year or more, burns hotter and cleaner and leaves far less creosote. In the UK, firewood sold under the Ready to Burn scheme has a moisture content of 20% or less.
A cheap moisture meter takes the guesswork out of it. Split a log and test the fresh face, since the outside dries first and can fool you.
Don't burn painted or treated timber, plywood, cardboard boxes or wrapping paper, and never use gasoline or other accelerants to get a fire going. Paper and kindling are enough. (I'm fond of the "top-down" method, with the big logs at the bottom and the kindling on top, but that's a preference, not a rule.)
Protect the room as well as the flue
Test your smoke alarms and carbon monoxide alarms before the season starts, and fit a CO alarm in the same room as any wood-burning stove or open fire if you don't already have one. A spark screen or glass doors keep embers on the right side of the hearth. The NFPA recommends keeping a three-foot zone around the fireplace clear of children, pets and anything that can burn, which is easy to forget once the dog discovers the warm spot.
Ashes stay hot much longer than people expect, sometimes for days. Shovel them into a metal container with a tight lid and keep it outside, well away from the house, the deck and the trash cans. A cardboard box of "cold" ash on the porch is a classic way for a fire to start.
Your first-fire checklist
Before the first cold evening, give yourself half an hour for this. Look over the stack from outside. Open the damper and check the flue for blockages. Scratch-test for creosote and book a sweep if it's been more than a year or the buildup looks thick. Test your smoke and CO alarms. Make sure you have dry wood and a metal ash bucket ready.
Then light a small fire first and watch how it draws. If smoke rolls back into the room instead of heading up the chimney, put it out and find out why before you try again. It's dull work, I know. I would still rather spend half an hour on it than an afternoon on the phone to my insurer.