Photo: X-Javier, CC BY-SA 4.0, via Wikimedia Commons
Stand barefoot by an old exterior door on a cold November evening and you'll know whether it leaks. The draft comes in low, it's colder than the rest of the room, and it tends to show up right when you've finally turned the heat up.
Gaps around doors are one of the easiest leaks in a house to find and fix. ENERGY STAR estimates that homeowners can save an average of 15% on heating and cooling costs by sealing air leaks and adding insulation, and while a single door is only a small part of that, it's also the part you can sort out in an afternoon with a screwdriver and a tape measure.
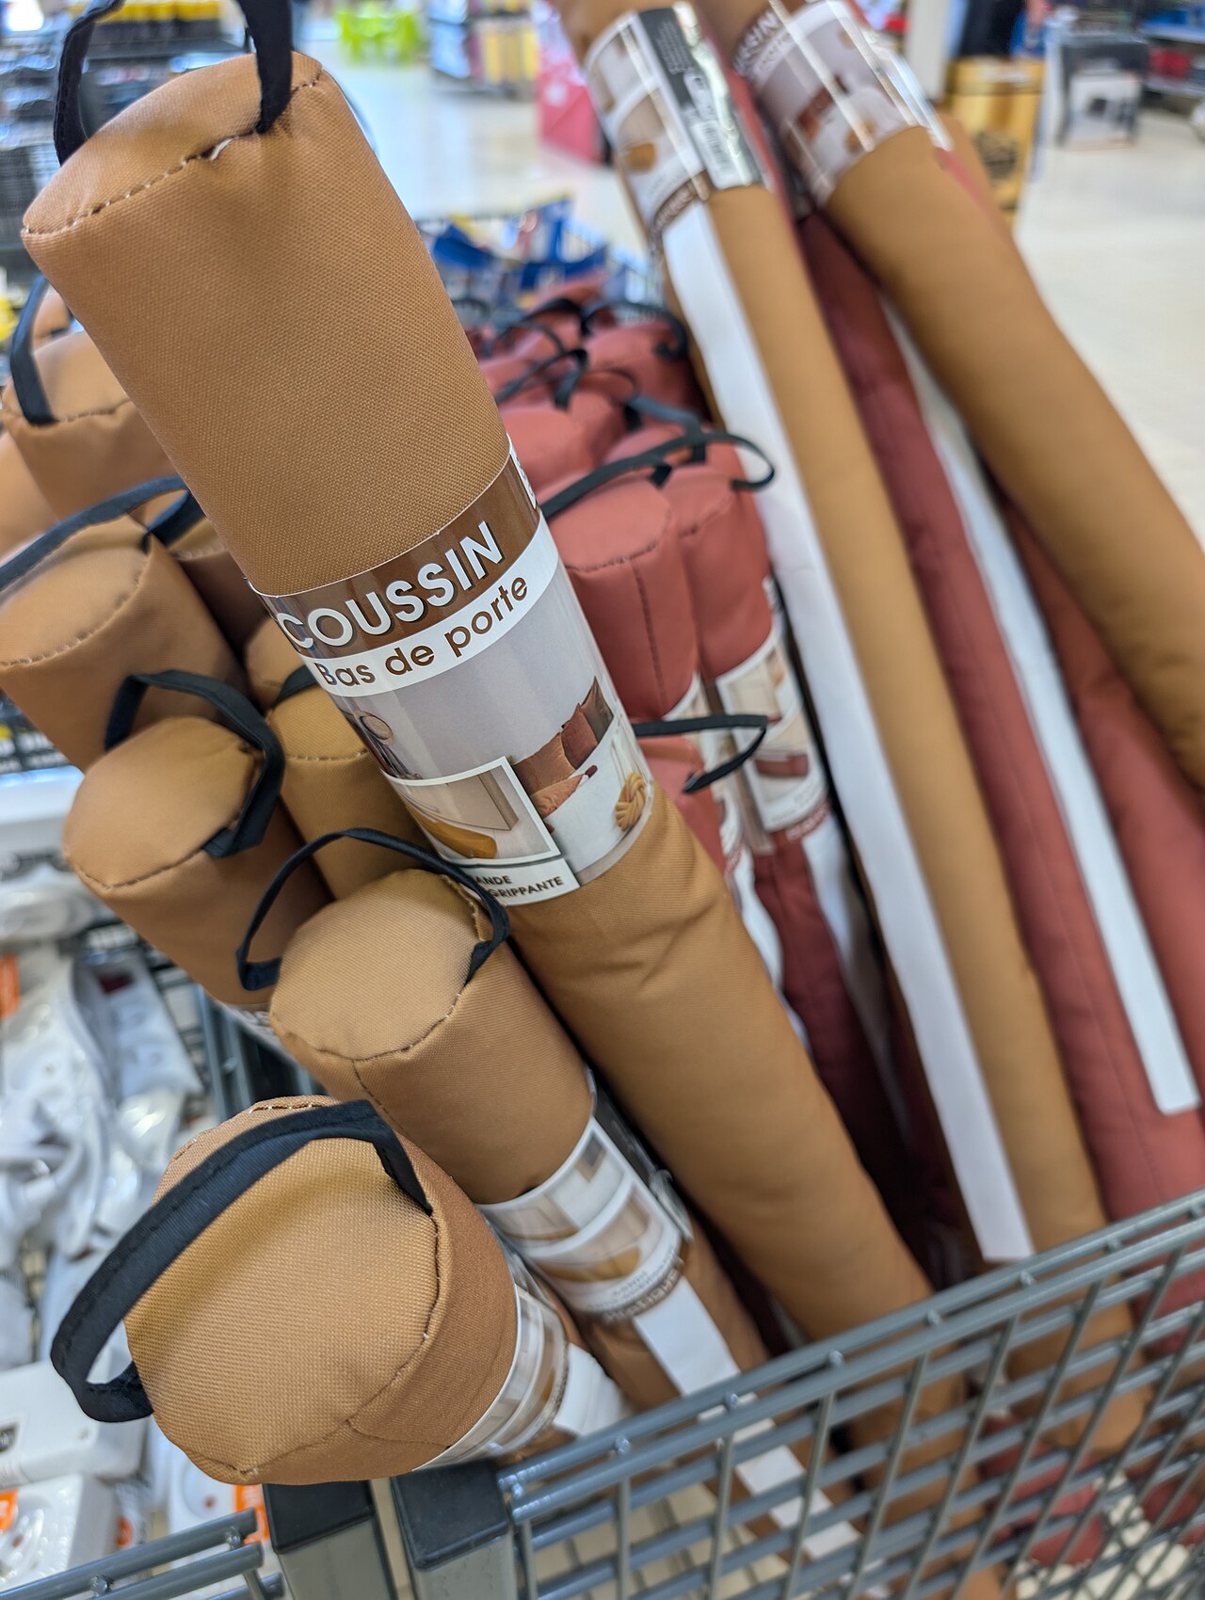
The fabric draft snakes in the photo above will do in a pinch (and I'm not going to sneer at them). They're a stopgap, though. The fixes below seal the door itself, so it stays sealed every time you close it.
Find the leak before you buy anything
Most of the money wasted on draftproofing goes on the wrong product. So start by finding out where the air actually gets in.
The paper test is the simplest. Close the door on a sheet of printer paper (or a dollar bill) at several points along the latch side, the hinge side and the top. If the paper slides out with no resistance, the seal there isn't touching. Do the same along the bottom.
At night, a flashlight works too. Have someone stand outside and run a light along the edges of the closed door while you watch from inside in the dark. Wherever light shows through, air does as well.
Some people hold a lit incense stick near the frame and watch the smoke. It works, but keep it away from curtains and keep a hand on it. A damp hand is a decent backup: you'll feel a cold edge where the draft is.
Gaps at the bottom: sweeps and thresholds
The bottom of the door is where most drafts get in, partly because the gap is often the largest there and partly because cold air sinks.
Start with the threshold. Many exterior doors have an adjustable threshold with a few screws across its top surface. Turning those screws raises or lowers a strip in the middle. Raise it a little at a time until the bottom of the door brushes it firmly when closed, but still opens and latches without a fight. It takes about five minutes, costs nothing, and is easy to overlook if you don't know the screws are there.
If the threshold doesn't adjust, or the door has no seal at the bottom, add a door sweep. There are three common kinds. Screw-on sweeps fix to the inside face of the door and have a flexible rubber, vinyl or brush strip that touches the floor or threshold. U-shaped sweeps slide onto the bottom edge of the door, which means taking the door off its hinges to fit one. Adhesive sweeps are the easiest to fit and the quickest to fail, especially on a door that gets heavy use.
For most doors I'd go with a screw-on sweep. Measure the width of the door, cut the sweep to length with a hacksaw if needed, and set it so the seal just touches the threshold when the door is closed.
Gaps at the sides and top: weatherstripping
Look at the frame where the door closes against it. Most modern prehung exterior doors have a compression seal tucked into a slot in the frame (a kerf). If it's flattened, torn or missing in places, pull it out and press in a new one of the same profile. Take a piece of the old one to the hardware store, because there are a lot of profiles and they don't all fit.
Older doors and frames without a slot need surface-mounted weatherstripping. Self-adhesive foam tape is cheap and easy, but it compresses and wears out within a season or two on a busy door. V-strip, a folded strip of vinyl or metal that springs open to fill the gap, lasts longer and works well along the sides of the frame. Tubular rubber or silicone seals nailed or screwed to the stop are tougher still and better for bigger gaps.
Whatever you use, clean the frame first. Adhesive won't stick to dust, old paint flakes or the residue of the last strip somebody put on.
When the door is the problem
Sometimes the seals are fine and the door simply isn't closing tight against them. If the paper test fails along the latch side but the weatherstripping looks good, check the strike plate. Moving it slightly toward the stop, or bending the small tab inside it, can pull the door in firmly when it latches.
A door that sags and rubs at the top corner on the latch side often has loose hinge screws. Tighten them, and if one just spins, replace it with a longer screw that reaches the framing behind the jamb. That alone can close up a gap along the top.
If the door is warped, cracked or rotten at the bottom, weatherstripping won't save it. That's a replacement job, or at least a call to someone who builds doors.
A safety note before you seal everything
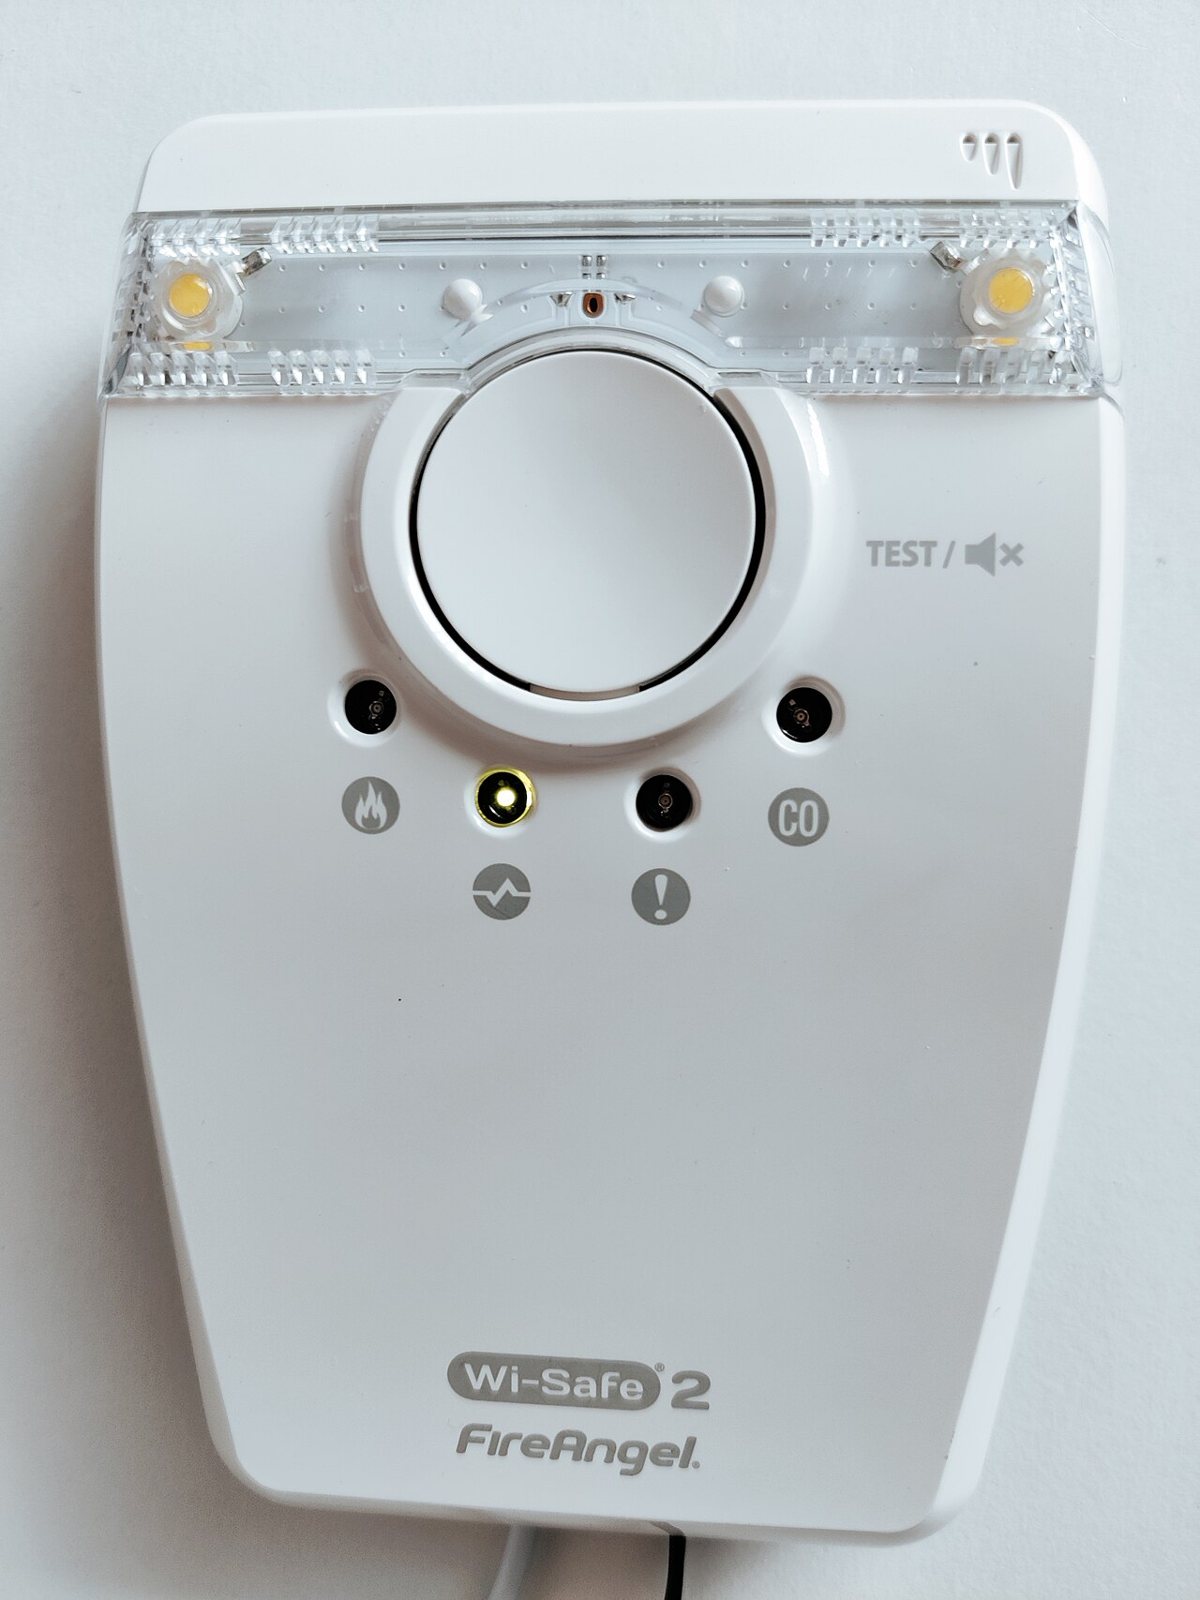
Sealing drafts is good practice, but if your home has a fuel-burning furnace, boiler, water heater or fireplace, make sure those appliances have the air supply and venting they're designed for. Don't block vents, and keep your carbon monoxide alarms working.
Also keep exterior doors easy to open from inside. A seal that makes a door stick is a nuisance on a normal day and a real problem in an emergency.
A weekend plan
Do the paper test on every exterior door this week and note where it fails. Adjust the thresholds first, since that's free. Then buy only what the test told you to buy: a sweep for the bottom, replacement kerf seal or V-strip for the sides. Fit them on a dry day, when adhesives cure properly, and run the paper test again when you're done. If the paper now grips at every point, you've done the job. Your ankles should notice by evening.
See more of us on GoogleAdd Home Knowledge as a preferred source and our stories can show up more often for you in Top Stories.