Every spring, a lot of homeowners turn on the outside tap for the first time and hear water running somewhere it shouldn't be. Usually it's inside the wall or down in the basement, and usually the cause is a pipe that froze and split back in January, then sat there quietly until someone opened the valve.
The fix for that is cheap and takes maybe twenty minutes, and the best time to do it is now, before the first hard freeze. Most of the work is closing one valve and draining one line. The rest is remembering to unscrew the hose.
I'll go through it in the order I'd actually do it, plus a few things to check while you're out there.
Why a frozen outdoor faucet does so much damage
Water expands by roughly 9 percent when it turns to ice. In an open pipe that isn't always a disaster, but in a pipe that's closed off at both ends, the ice has nowhere to go. Pressure builds up in the stretch of water trapped between the ice and the closed valve, and the pipe gives way at its weakest point.
With an outdoor faucet, that weak point is often not the faucet itself. It's the section of pipe running through the wall or the band joist, where nobody can see it. A split there might only leak when the faucet is turned on, which is why the damage tends to show up months later.
There's no single magic temperature, but a figure you'll see quoted often comes from research at the University of Illinois, which pointed to outdoor temperatures around 20°F (about minus 7°C) as the point where unprotected pipes in unheated spaces start to get into real trouble. If your forecast is heading anywhere near that, you're late.
Step one: get the hose off the faucet
This sounds too obvious to bother with, but it is the single most common reason a "frost-free" faucet bursts.
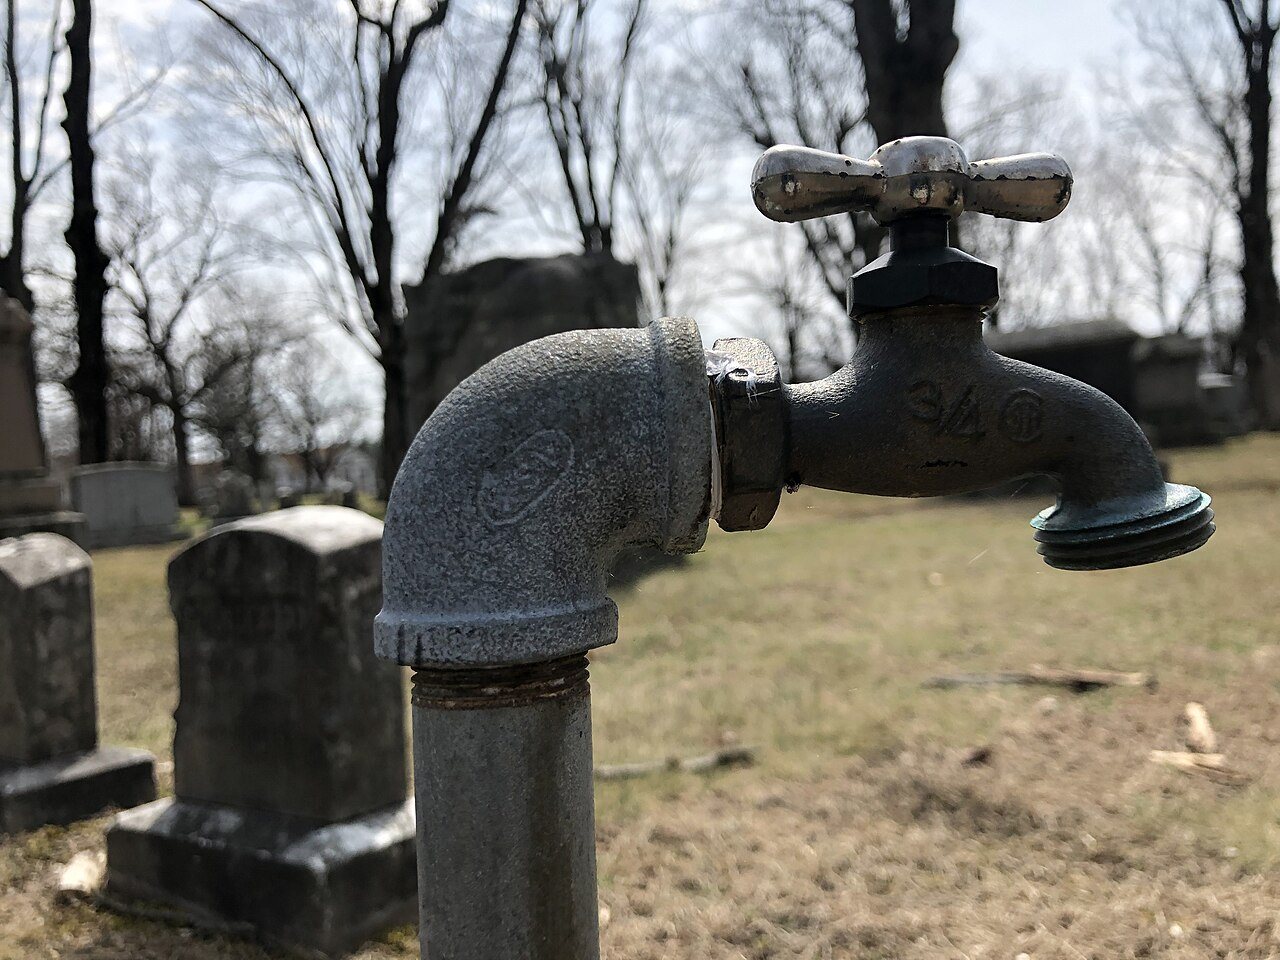
A frost-free faucet (plumbers often call it a sillcock) has a long stem, so the actual valve that stops the water sits several inches inside the house, where it stays warm. When you close it, the water left in the long barrel is supposed to drain out of the spout. A hose screwed onto the spout stops that from happening. The barrel stays full, it freezes, and you've got the same problem as an ordinary faucet, just in a more expensive part.
So disconnect every hose, drain it by stretching it out downhill or walking it in loops over your shoulder, and store it somewhere it won't get crushed by snow. A garage or shed is fine. Hoses that freeze full of water can crack too, though that's the cheaper loss.
Step two: close the shutoff and drain the line
If your outdoor faucets are the older, non-frost-free type, they should have a separate shutoff valve inside the house. Look in the basement or crawlspace, on the pipe heading toward the wall where the faucet is. It's usually within a few feet of the wall.
Close that valve. Then go outside and open the faucet fully so the water in the pipe can run out. Many of these shutoffs have a small cap on the side, called a bleeder or drain cap. With the outdoor faucet open, unscrew the bleeder (have a small bucket or rag ready) to let air in and drain the remaining water from the line. Screw the cap back on once it stops dripping.
Leave the outdoor faucet open for the winter. An open faucet gives any leftover water room to expand. I like to hang a tag on the shutoff valve that says "closed for winter," because in April nobody remembers why the faucet outside doesn't work.
Frost-free faucets usually don't have a separate shutoff, and with the hose off they mostly take care of themselves. If yours drips constantly or you can't confirm it drains, it's worth having a plumber look at it before winter rather than after.
Step three: cover what's exposed
Foam faucet covers, the little insulated domes that strap over the spout, cost very little at any hardware store. They help, especially on older faucets, but they're a backup, not a replacement for shutting off and draining the line.
While you're outside, look at any water pipe running through an unheated space: a crawlspace, an attached garage, an exterior wall in an older house. Slip-on foam pipe insulation is an easy weekend job. If a pipe in a very cold spot keeps giving you trouble, heat cable is an option, but buy one that's listed for that use and follow the manufacturer's instructions exactly. Cheap heat tape installed badly is a fire risk, and I'd rather see a pipe rerouted than wrapped in something sketchy.
Sprinkler systems are a separate job
If you have an in-ground irrigation system, it needs its own winterizing, and that usually means blowing the lines clear with compressed air. It can be done yourself with the right compressor, but too much pressure can damage the pipes and sprinkler heads, and the backflow preventer is often the most exposed part of the whole system. For most people this one is worth paying a landscaper or irrigation company to do. Booking early helps, since everyone calls them the same week.
A quick end-of-October checklist
Before you head back inside, three more things are worth two minutes each. Find your home's main water shutoff and make sure the valve actually turns, because a frozen pipe at 2 a.m. is a bad time to discover it's seized. Clear leaves out of gutters and downspouts so meltwater runs away from the foundation instead of pooling near pipes. And if you're leaving the house empty for a winter trip, keep the heat on (most guidance says no lower than about 55°F) rather than shutting it off to save money.
The whole job is easy to put off on a mild October afternoon. If a hose is still screwed onto the house when you finish reading this, start there.